


How to Rename Your Unity Game
Learn the differences between a project name and a product name


In today's tutorial, I'll be showing you how to rename your Unity project.
Chances are there will be times when you want a new name due to the nature of your game changing or even a typo in your original name.
There's a little more to this procedure than meets the eye, so let's dive in and take a look.
Project vs. Product name
When it comes to naming your game, there are two different names that are both relevant to your project.
The product name is the name of your game or simulation as defined in the Project Settings. It may or may not be the same name as the file structure for your project.
One of the obvious places where the product name appears is in the bottom right-hand corner of an embedded WebGL build, as illustrated in the image below.
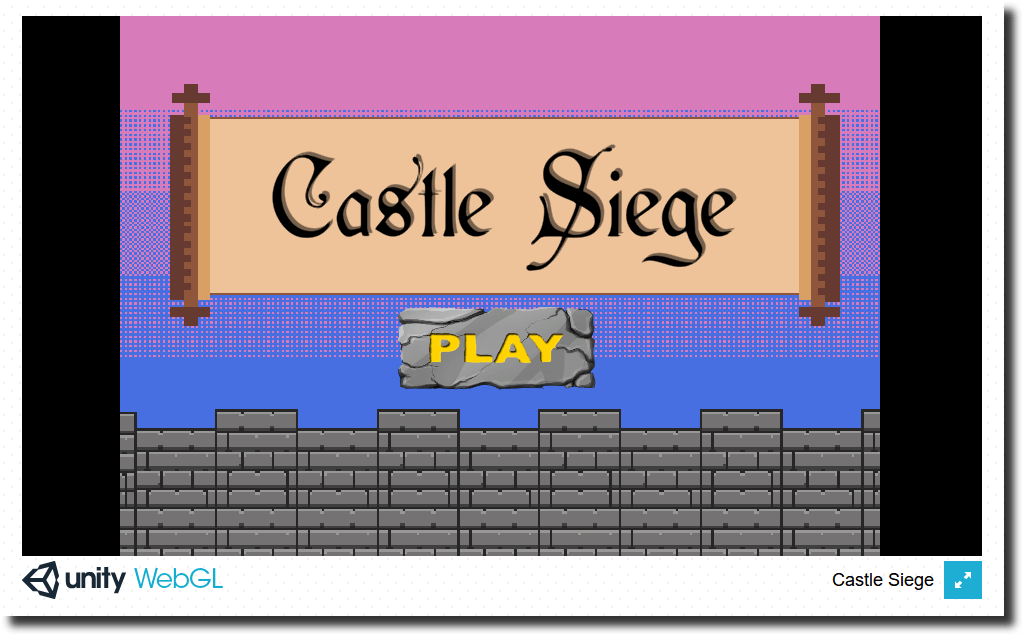 In this WebGL build, the product name is visible in the bottom right corner.
The project name is the top-level folder of your project, where all of your assets and game data are stored. This is the name you see listed in the Unity Hub.
Changing the product name does not change the project name. If you change the project name, your project will disappear from the Unity Hub. To open it again, you must add it back to the list of recent projects.
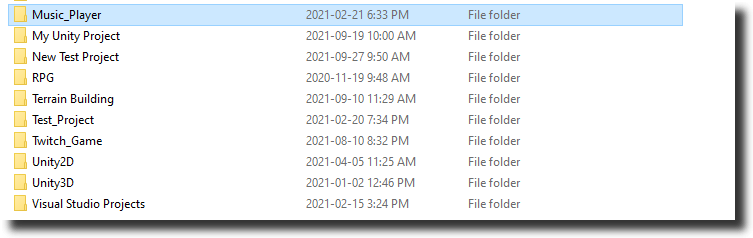 An example of a local repository for Unity projects. Each folder represents a different project name.
Changing names
Now that you understand the difference between the product name and the project name, let's look at how to change them.
Renaming the product
Open up the product you want to rename. Go to File>Build Settings>Player Settings.
Select the Player category from the list on the left. You will now see a place to enter in the product name on the right.
Make your edits and close the Player Settings window. Your product now has a new name.
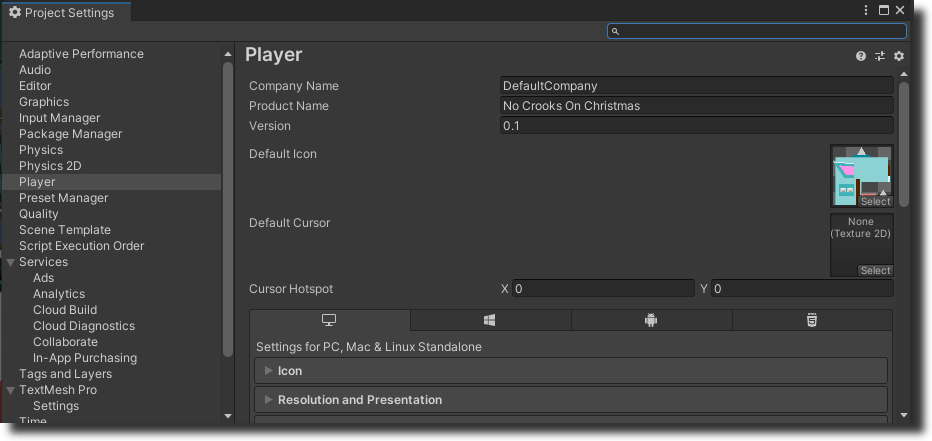 The Project Settings window in Unity.
Renaming the project
In the Unity Hub, click the three dots next to project you want to rename.
Select Show in Explorer.
In the File Explorer, select the project folder. Right-click, then select Rename.
Close down the Unity Hub and open it back up again. Your renamed project must be added back into the Hub. With Projects selected on the left, click Add.
Navigate to your Unity project and click Select Folder. Your renamed project should now reappear in the Hub.
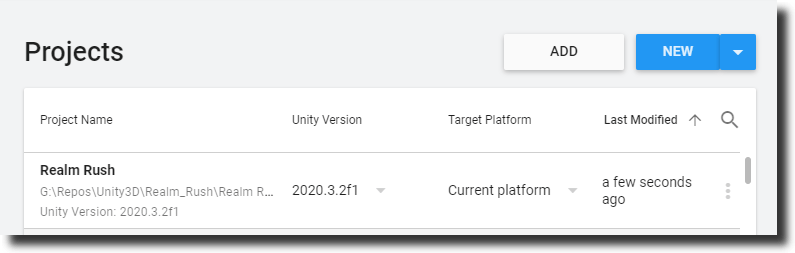 The Unity Hub is where you can view different project names.
Thanks for reading! If you enjoyed this article, please like, share, or follow. 💗 You can also reach me on Twitter or Instagram.